6 minutes
Building an IoT E-Ink Display
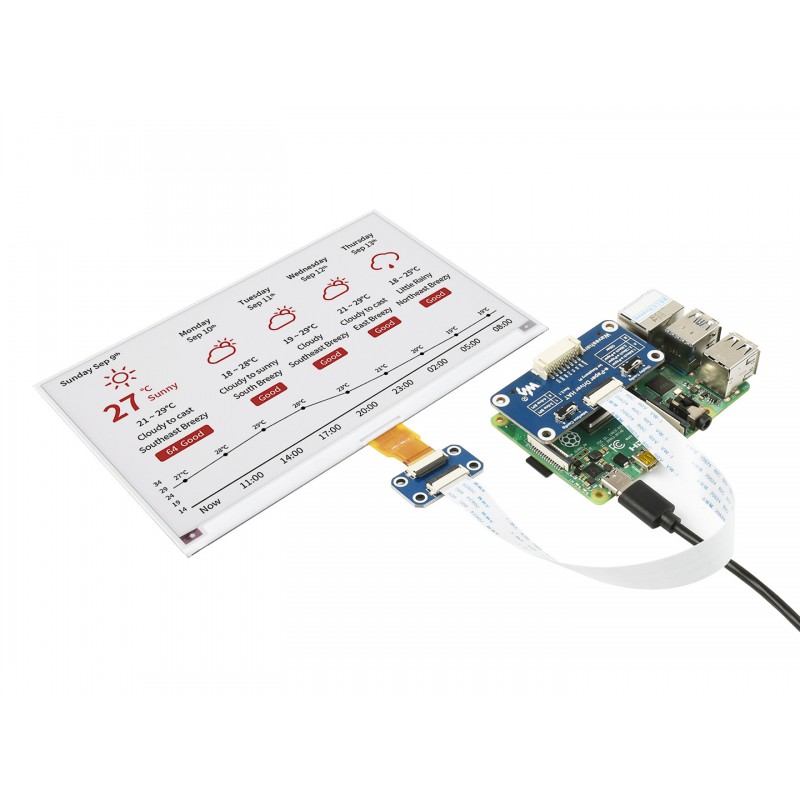
Whilst stuck at home in 2020, I was browsing the Internet for project ideas when I came across tri-colour e-ink displays. These displays are much like those that you find on e-readers such as the Amazon Kindle. They don’t require any power once the display is set, don’t need (or have) a backlight and have a fairly long refresh time. I immediately wanted to connect one to the Internet to display things on it in real-time, so bought one of the 7.5" red-white-black displays with a HAT for a Raspberry Pi.
The possibilities for such an Internet connected display are almost limitless, some of my ideas included:
- Weather Forecast
- News Headlines
- XKCD display
- Digital Picture Frame
Prototyping
For my initial prototype, I decided to buy a fairly typical 6x4" photo frame, mount the display in it and stick a Raspberry Pi Zero to the back. Fairly simple, I thought it would work well.
First problem: 6x4" is too small! So I ordered a 7x5" frame instead and put some actual photos in the unnecessary photo frames.
I then discovered that 7x5" is too big! Not an issue though, I’ll just mask out the edges with a piece of white card. It’ll look like a nice border and everything will be great?
So yeah, I cut off the ribbon cable whilst trimming the paper. 🤦
Whilst re-ordering the e-ink panel, I noticed that the manufacturer makes cases for the panels I was using. Great I thought, problem solved…
So I’m not sure exactly what product these cases are being used for, but they certainly weren’t suitable for hobbyist use. There’s a micro-USB shaped hole on the bottom and it sticks together magnetically. There is, however, absolutely no room inside to fit any additional (hobby-grade) electronics. I’m sure if I was building a PCB it would work, but I’m just trying to prototype here! The case is slightly too big for the screen anyway, and there were no mounting holes to attach a stand to. So back to the photo frame.
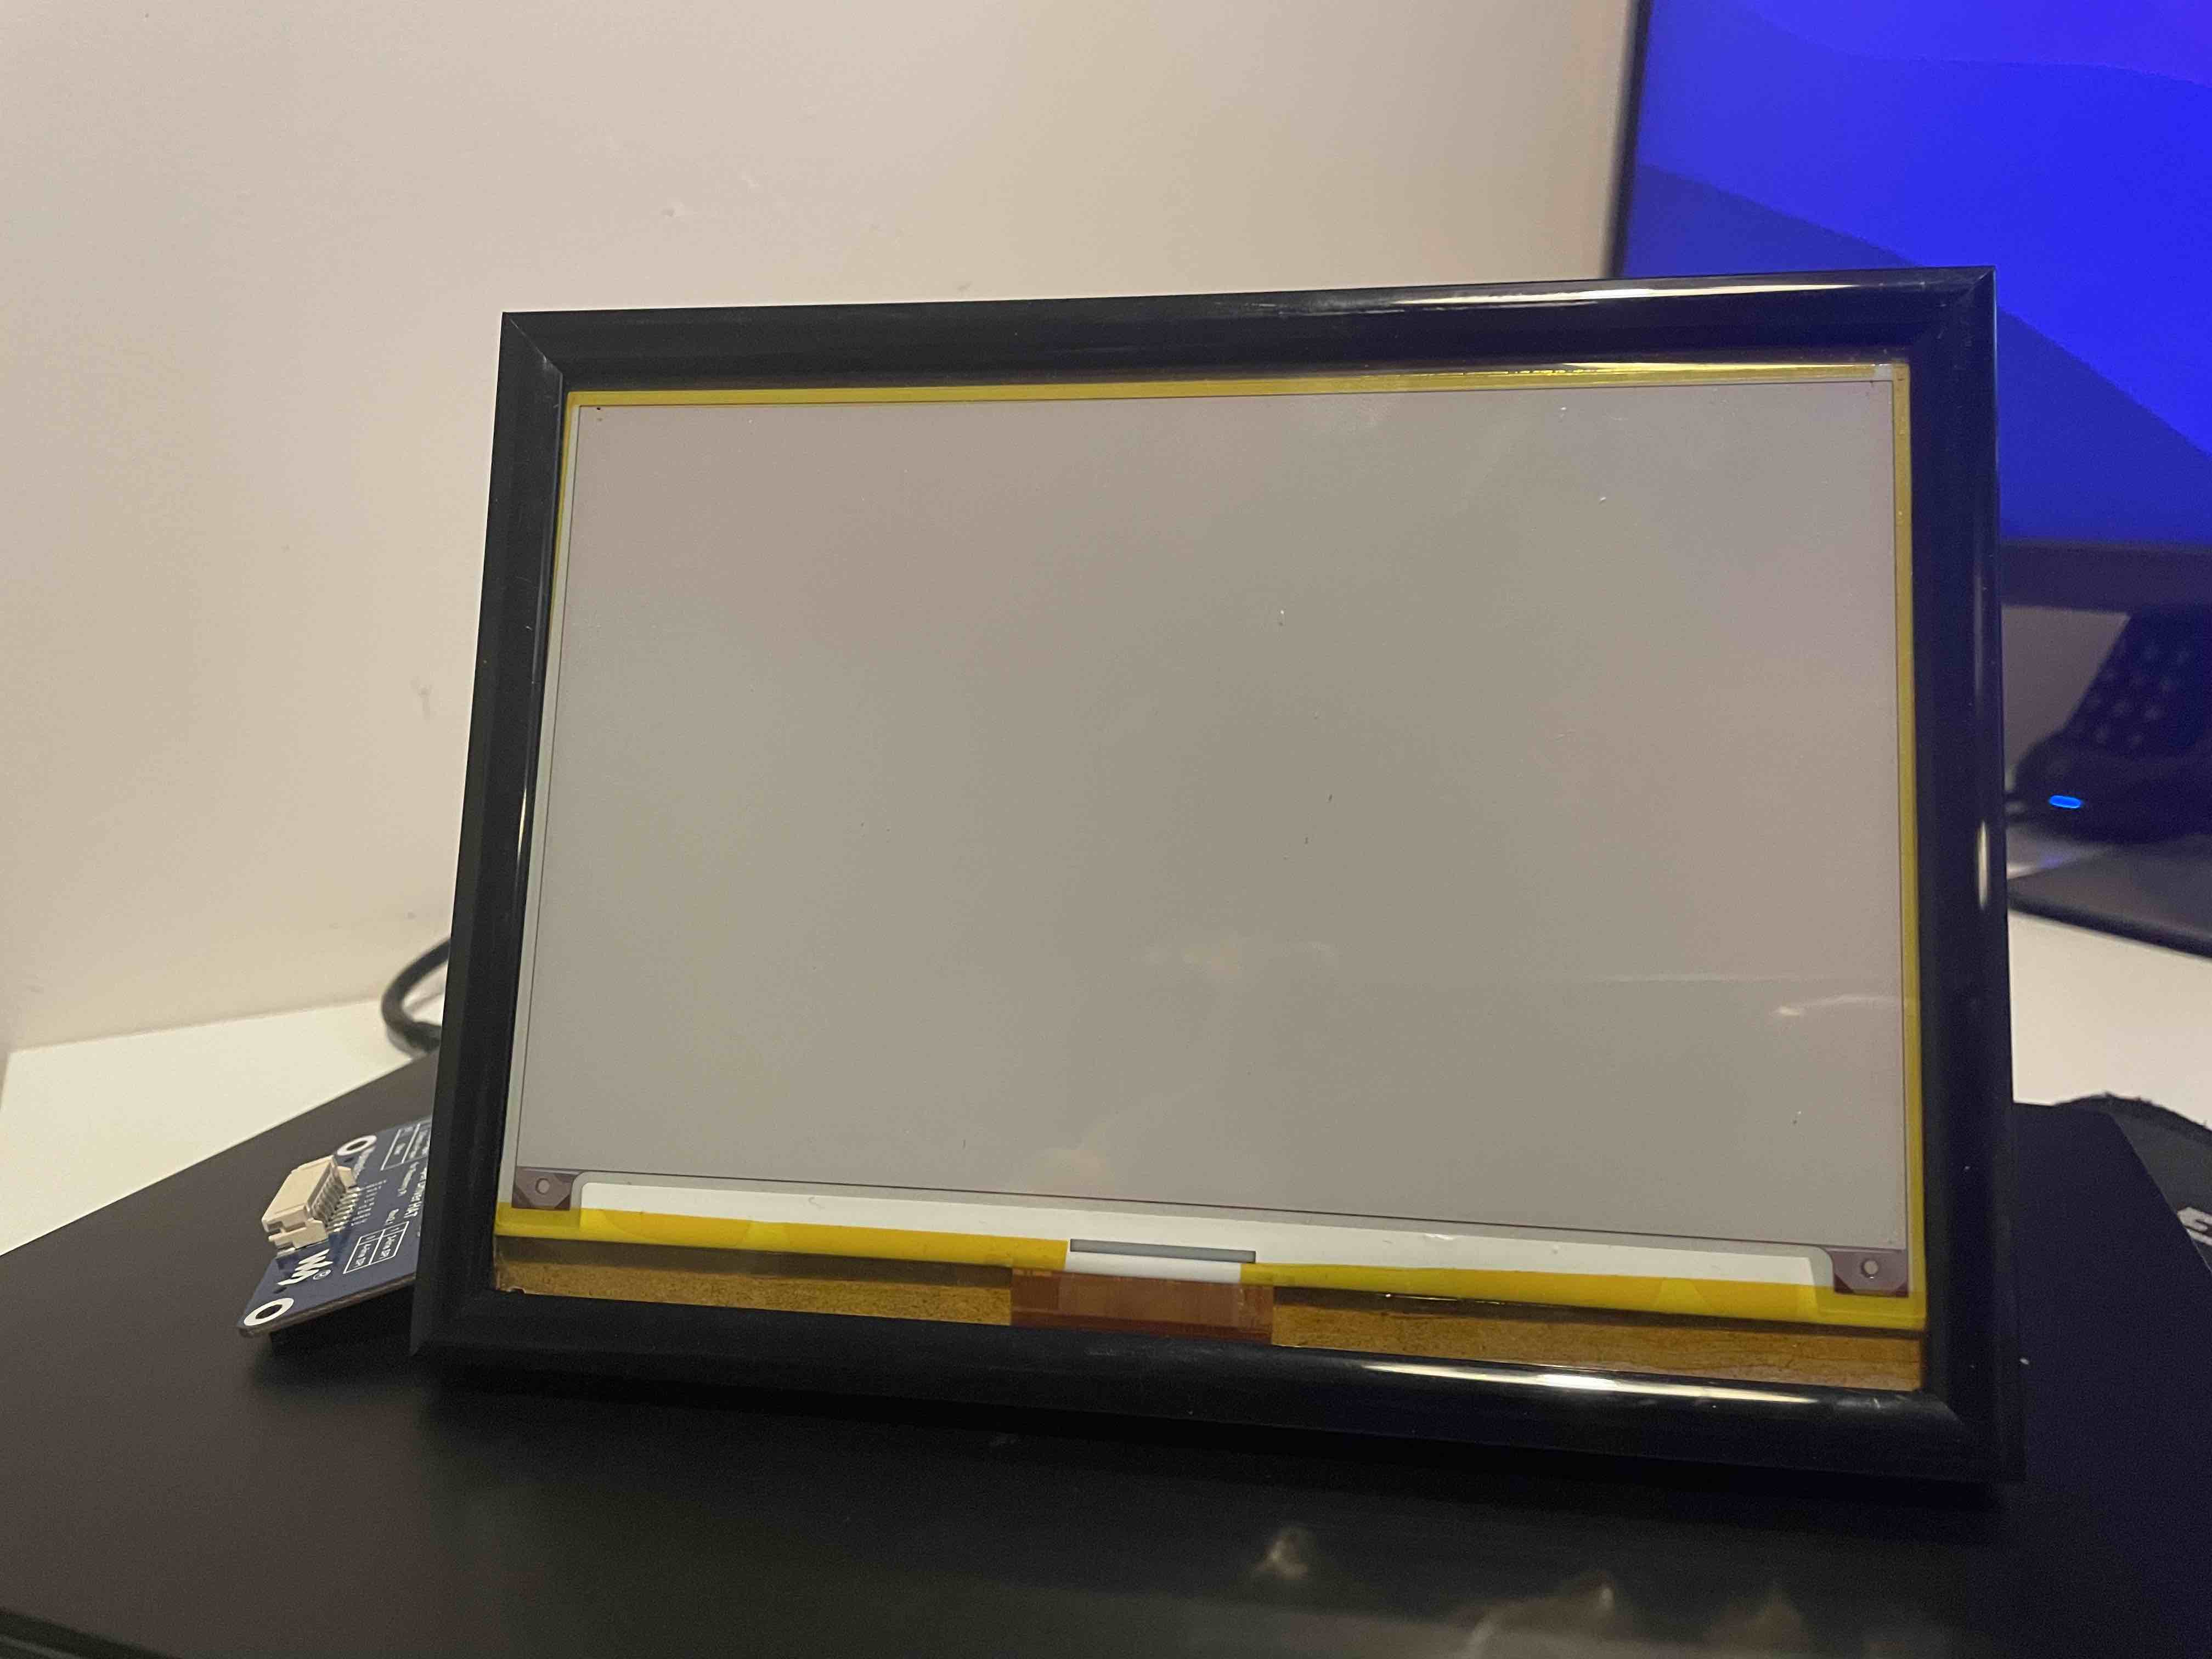
This one works, despite the excessive amount of Kapton tape. Being able to see the ribbon connector gives the prototype some character at least.
In an ideal world, I would just design and 3D print a case that is exactly the size I need. That means I would need to get a 3D printer and store it somewhere however, and my desk is already overflowing with electronics!
Probably not cheating
I was quite keen to start writing some code to get the display doing something other than the manufacturer’s demo. After some searching, I found that The Pi Hut sold an acrylic case that would fit a Raspberry Pi Zero and a 2.13" variant of the eink display I had been testing with. Whilst Raspberry Pis are sold out just about everywhere at the moment, I had a Zero W lying around from a hackathon I won a few years ago, so I ordered the parts to make a prototype.
Rendering
Whilst I was waiting for the new parts to arrive, I thought it would be good if I had a way of testing code on my computer. This would allow me to de-couple the development of the IoT part of the display and the actual drivers for the display. Pillow is a nice fork of PIL and allows simple manipulation of images using Python, even if it isn’t the fastest library in the world. Speed of rendering really isn’t a factor in this projects as the displays take quite a while to refresh!
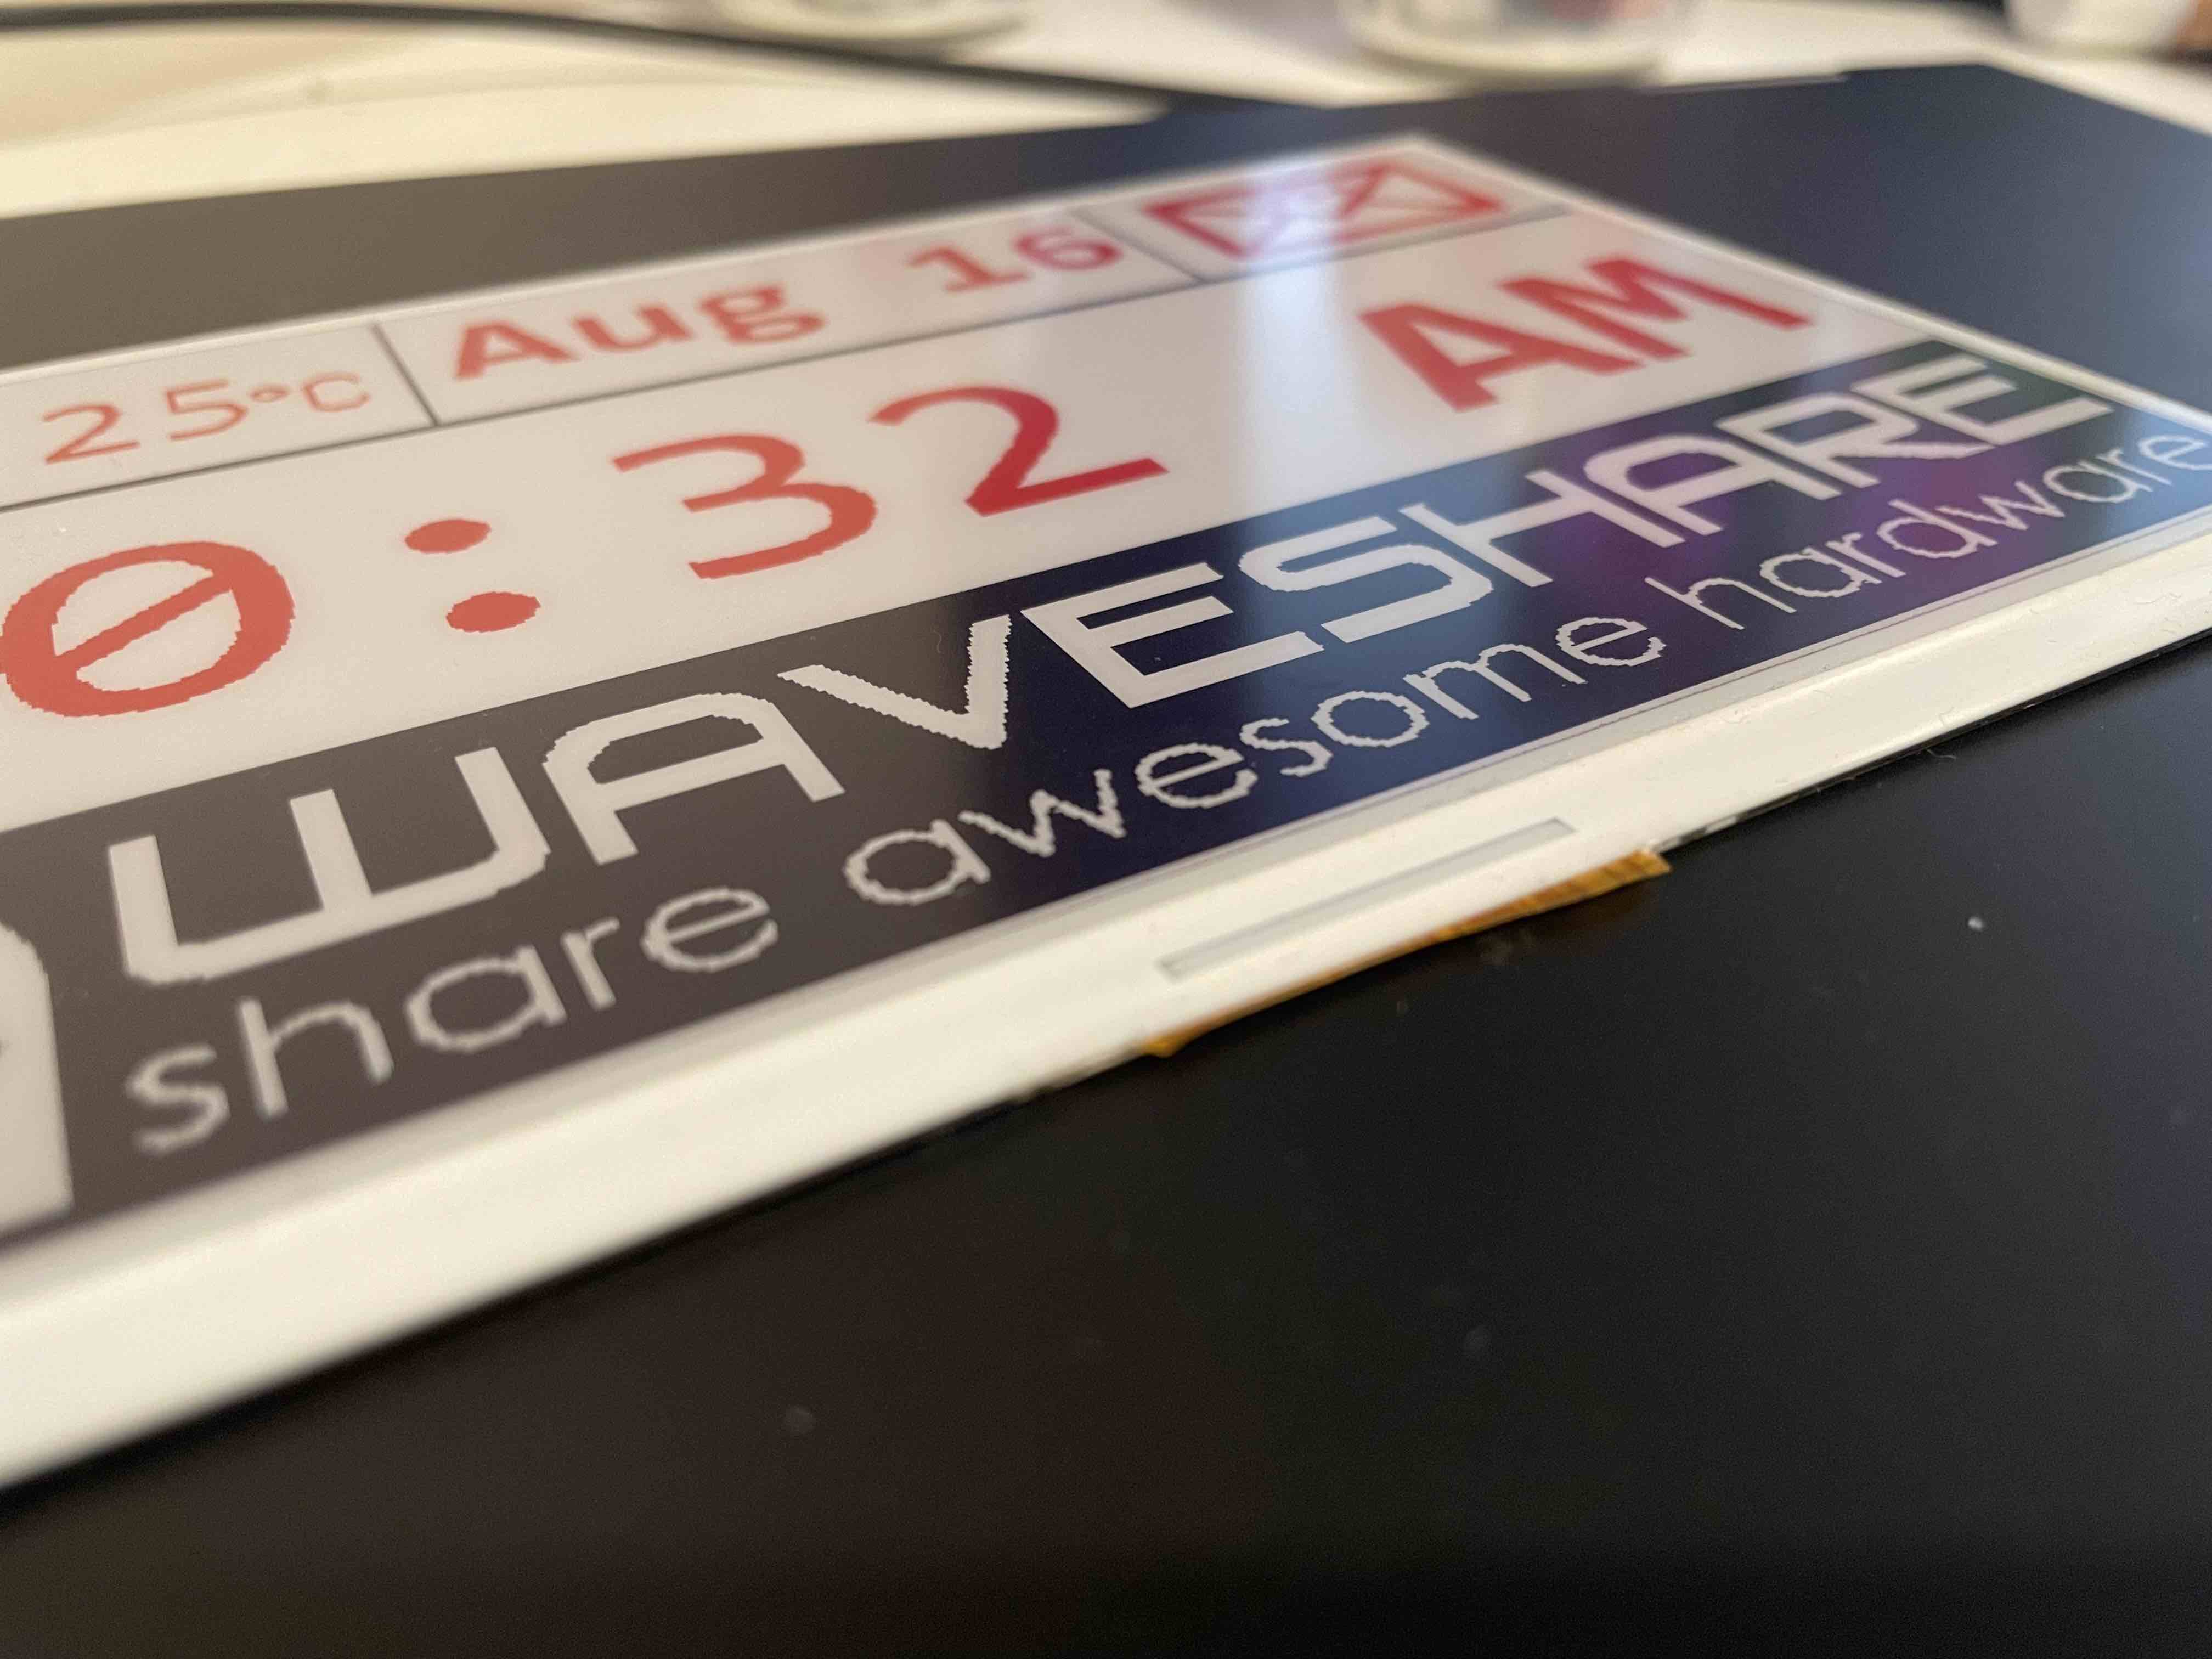
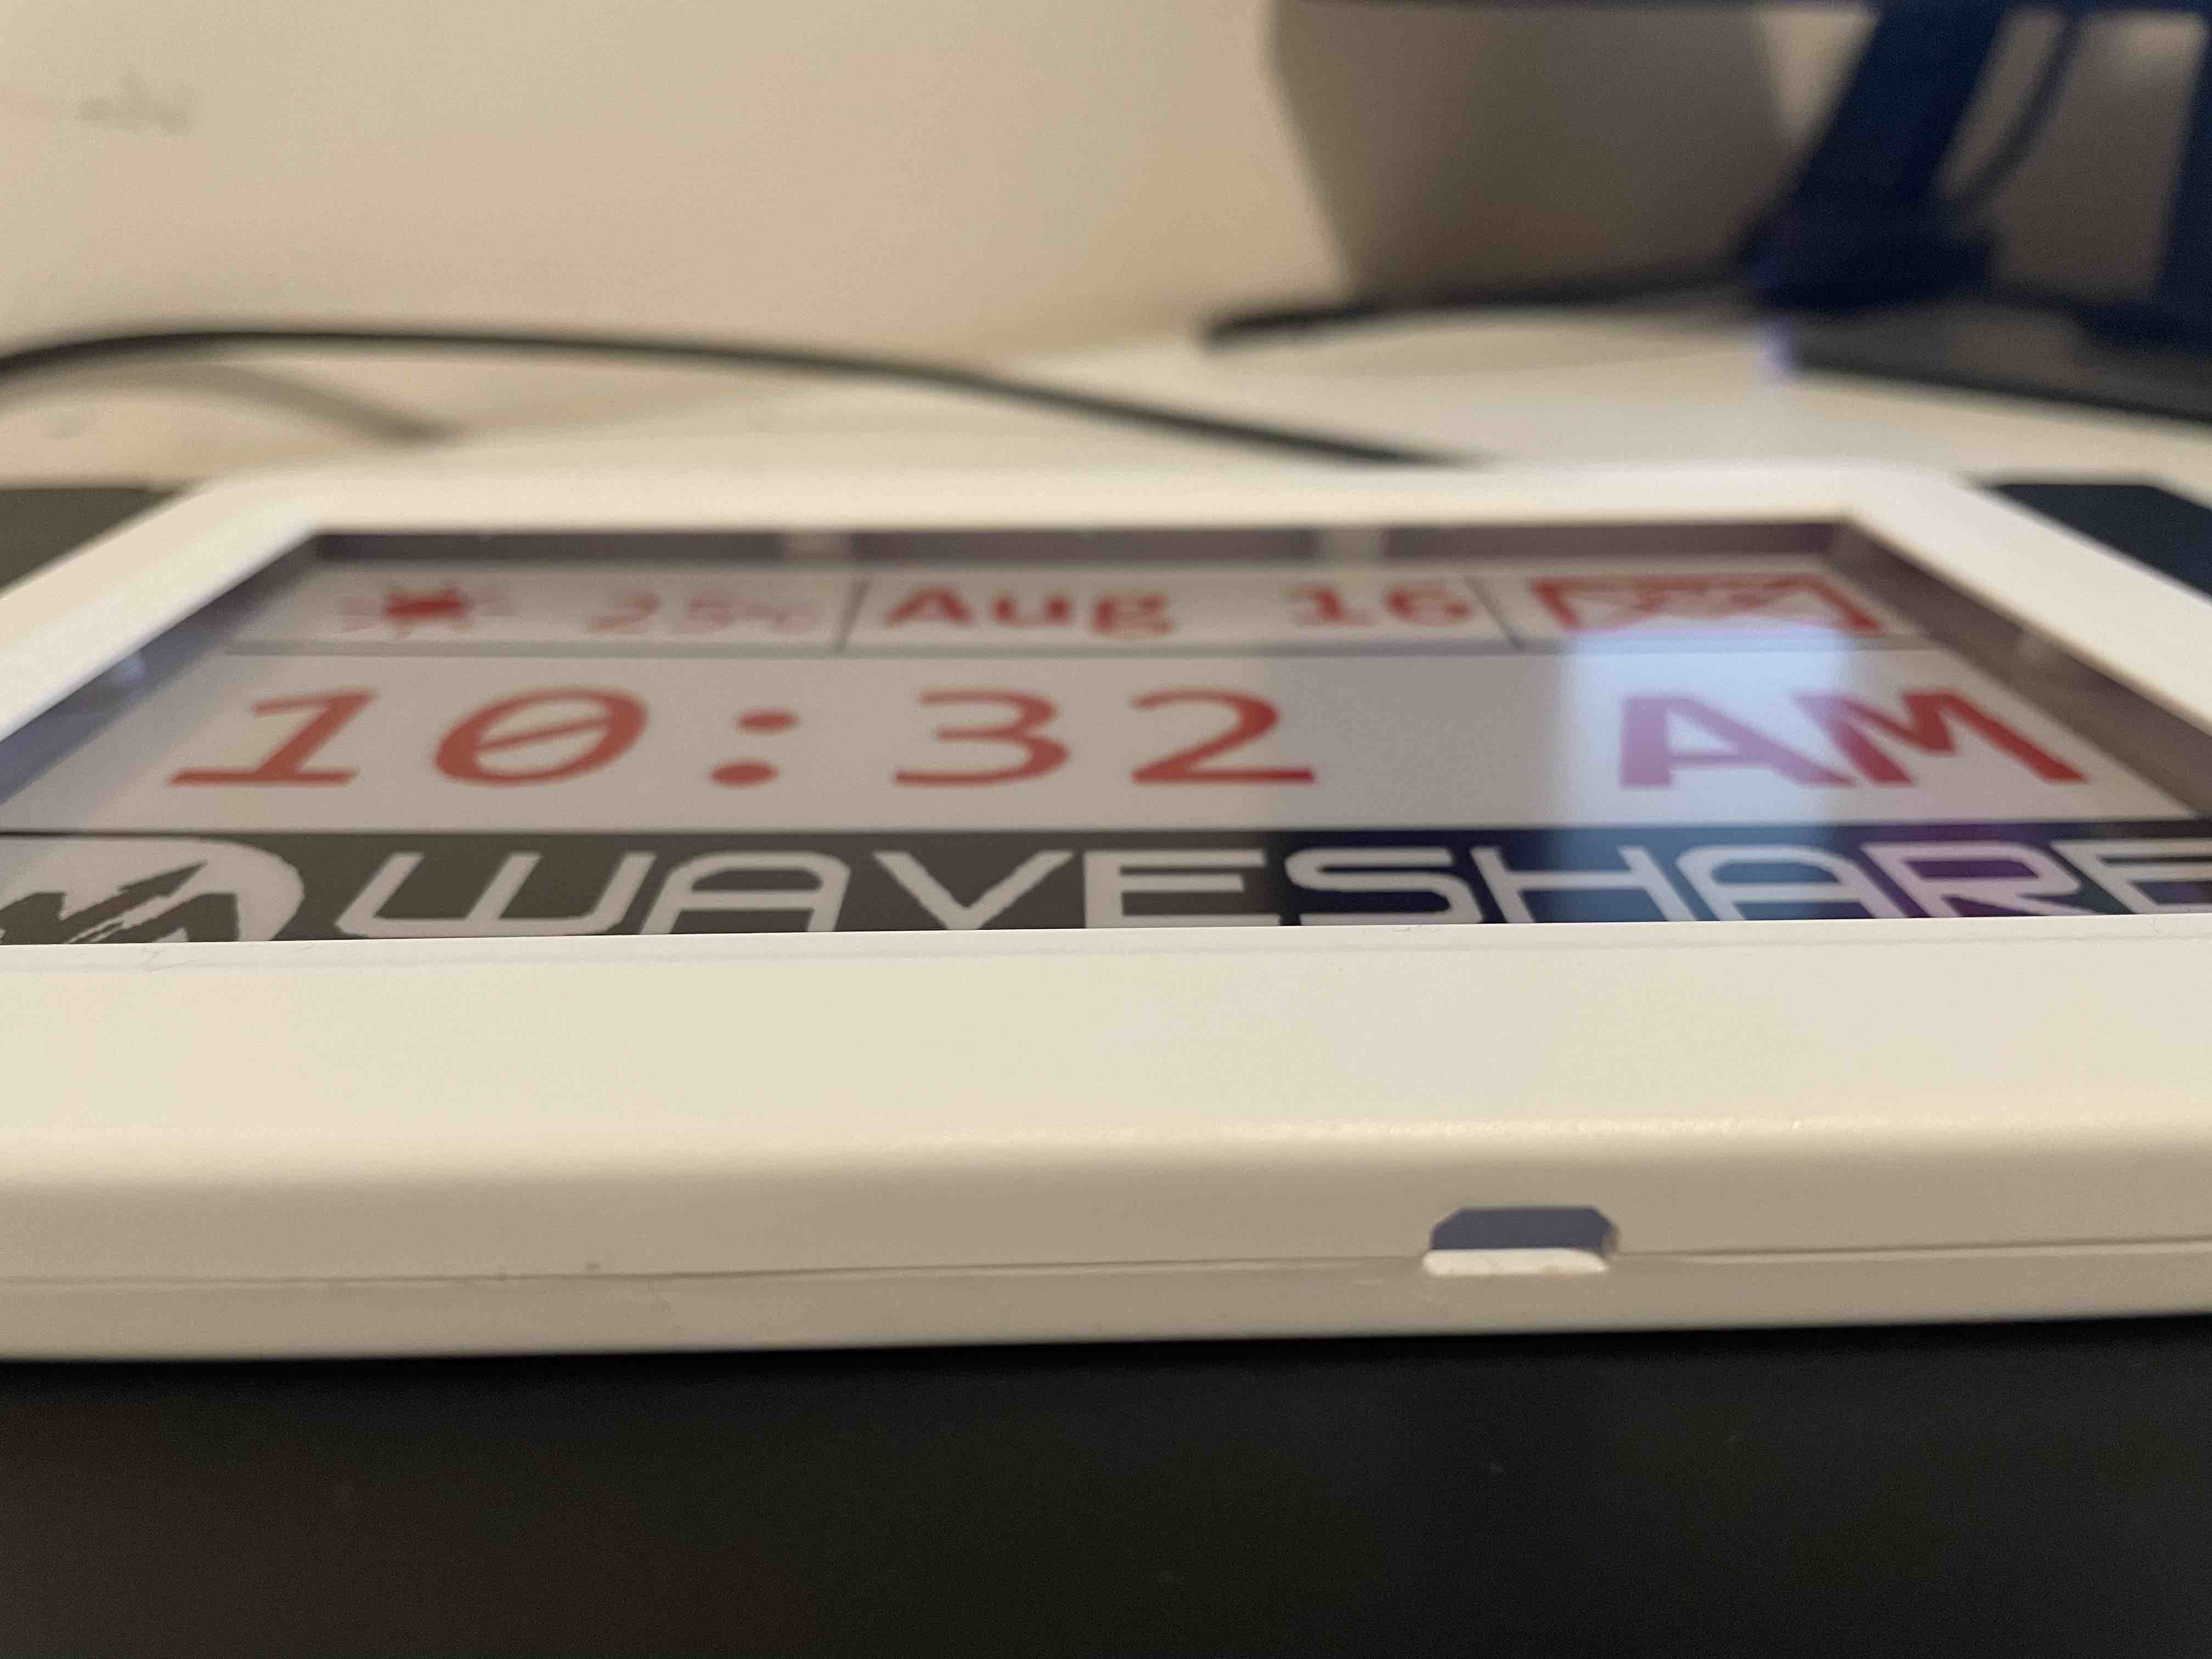
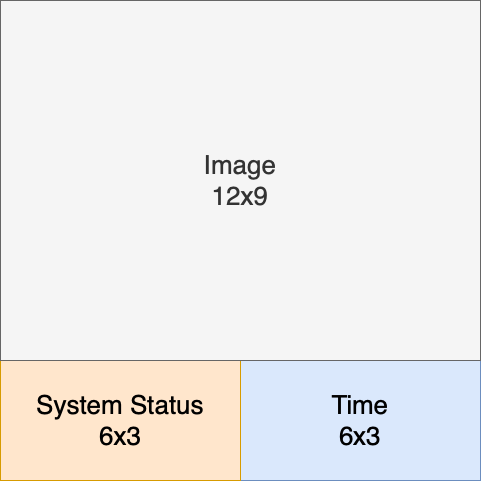
I have written some code for a basic window-like layout on the screen. It comprises a 12 x 12 grid that scales to the size of the screen.
Components can then be laid out on the grid, as long as they don’t overlap. Each component is referred to by a name in the code and this can be used to modify the content of the component.
Digging through the datasheet
Waveshare, who make these eink displays, do provide example code for driving the e-ink displays. However, I was more than disappointed in the quality of this code. It’s almost never a good sign when code has to fiddle with PYTHONPATH at the start of every file. So I decided to write my own.
The interface to the e-ink displays is relatively simple and uses SPI. After sending some commands to initialise the display with the correct parameters, it’s about as simple as sending the image data as a 1-bit monochrome bitmap for each colour and then instructing the display to refresh:
data = self._get_buffer(buffer)
# Start the transmission
if channel == "black":
    LOGGER.debug("Starting transmission of black channel data")
    self._send_command(CMD_DATA_START_TRANSMISSION)
elif channel == "red":
    LOGGER.debug("Starting transmission of red channel data")
    self._send_command(CMD_DATA_START_TRANSMISSION2)
else:
    # This code shouldn't be reachable.
    raise RuntimeError("Unknown channel: {channel}")

# Send the pixel data
LOGGER.debug("Sending pixel data")
for pixel_byte in data:
    self._send_data(pixel_byte, quiet=True)

# Refresh the display
self._send_command(CMD_REFRESH)
self._wait_busy()
However, I wanted to expose a really simple interface to the user. I also added abstractions that allow completely different e-ink (or even a window on my laptop) to behave the same from a code perspective.
with EPD2in13bcDriver() as epd:
    epd.clear()

    sleep(5)

    img = Image.open("examples/img/212x104-b.png")
    epd.show(img)
    epd.refresh()

    sleep(5)
    epd.clear()
My driver implementation is published on my GitHub: trickeydan/einkd
I think it might be possible to change the waveforms stored in the displays LUT to make the display refresh significantly faster, although I suspect it’s also very easy to damage the display by doing this. Refresh time isn’t too much of a concern for my use cases, so I’m going to leaeve them at the manufacturer’s default.
The Final Result
I’d say I’m quite happy with how the mini display came out in the end.
I’m currently using it as an “Emoji of the Day” display, which will show three random emojis on any given day. I’m not quite sure what else I’ll do with this one as it’s a bit too small to display pictures on, and definitely doesn’t have the resolution.

The “Emoji of the Day” code is also published on my GitHub: trickeydan/einkd-eotd
“Looks like I’m about to get a chance card”
- recipient of mini display
I’ve given this one away now to try and persuade myself to build a bigger one with the 7.5" screens. Although that heavily depends on how soon I can get hold of another Pi Zero.
I guess I’ll need to find somewhere for that 3D printer…